

If you’ve tried to use a dapp or transact on the Ethereum blockchain in the last month or so, you may have noticed that gas fees have reached a point where one Uniswap trade can cost as much as a week’s worth of groceries for a family of four.
This is partly because Ethereum’s edge over the potential “eth-killers” is also its biggest flaw. In 2017 ICOs and projects of all kinds flocked to the Ethereum blockchain as Solidity made it very easy to secure funding in exchange for tokens through the use of smart contracts.
In 2021, we are seeing many of the surviving projects come to fruition, in addition to seeing an influx of new projects due to the “Defi” craze that happened over last summer. And while Ethereum’s smart contracts & higher throughput were a huge improvement in functionality over Bitcoin Core, it is still first-generation tech & was never meant to handle this many dapps on the mainnet.
Matic is a layer two (L2) solution to Ethereum’s scaling problems. It is a Proof-of-Stake chain running alongside Ethereum & securing on-chain data through “checkpoints” which are validated by at least ⅔ of delegates before recording onto the Ethereum mainnet through the use of smart contracts.
If you’ve ever used an emulator to play games, this is essentially like creating a ‘save state’ for short-term progress & then creating a hard save in the game itself later on. This allows Matic to transact for next to nothing, and in seconds, even as Ethereum’s “2.0” solution may still be a year or more away from using their own PoS layer to help them scale.
The potential downside for security is limited by delegated proof-of-stake collateral, as well as the short amount of time between checkpoints.
In this tutorial, I’m going to show you how to easily setup metamask to send your ETH or tokens through the bridge.
What you’ll need:
Note: Bridging ON to Matic’s network and also withdrawing BOTH COST ETH GAS, as the transfers have to be recorded on Ethereum’s main chain. So don’t make the mistake of depositing everything in your metamask, because you won’t have enough Ethereum to withdraw back to mainnet, if you need to.
Now…
Step one: Open Metamask
Step two: Click up at the top where it says “Ethereum Mainnet”
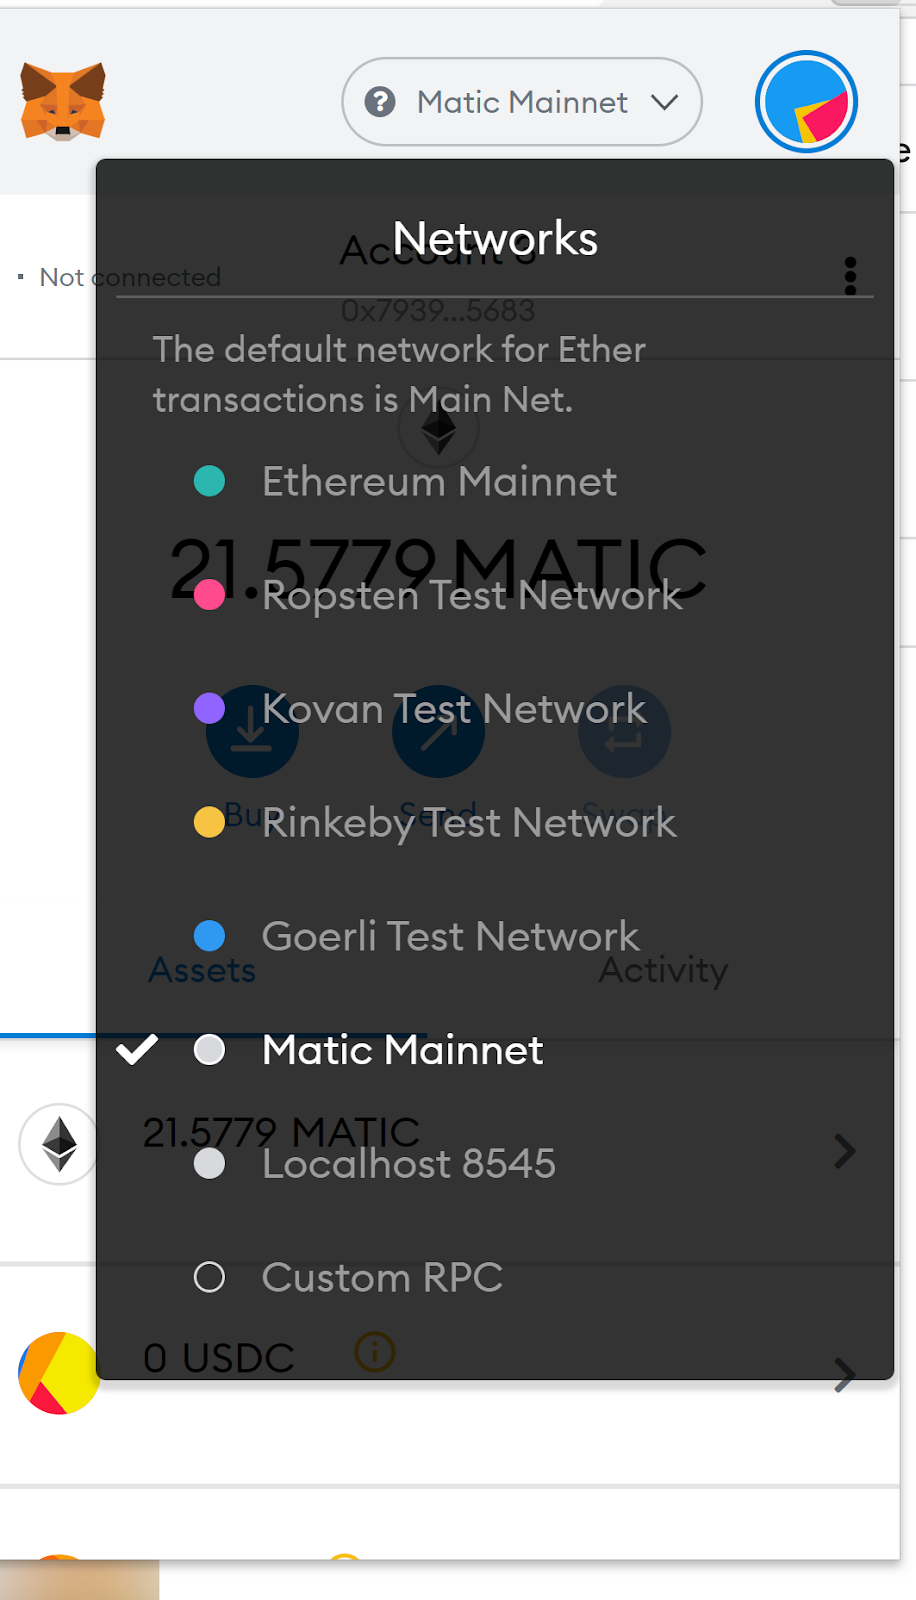
Step three: Click “Custom RPC” down at the bottom to add the Matic network.
Step four: Enter the details for the Matic network, as follows:
Network Name: Matic Mainnet
New RPC URL: https://rpc-mainnet.matic.network
Chain ID: 137
Symbol: MATIC
Block Explorer URL: https://explorer.matic.network/
Step five: That’s it! Now just head over to https://wallet.matic.network/bridge , connect metamask, and follow the instructions to send ETH or other ERC20 tokens to Matic.